It has been a while since I have blogged, I think it was in my 2nd year. So I have been tasked to teach CodeIgniter, obviously this is going to be very challenging. I am more familiar with Laravel though so I will draw some comparisons.
CodeIgniter is quite old for some time. I will have to see how it fares with modern frameworks.
Installation
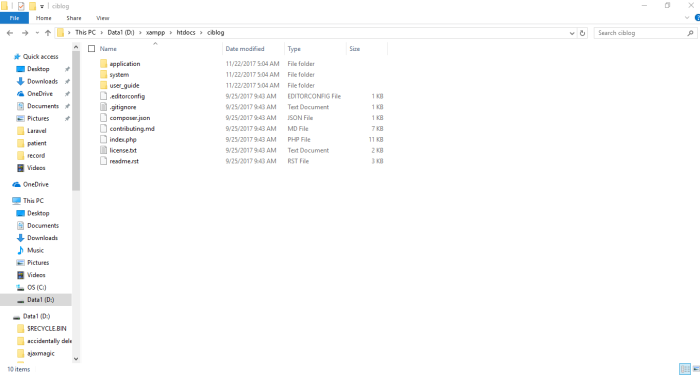
I am surprised that the installations files are very light, 2.6 MB, just as it says on the landing page that it has a very small footprint. Compared to Laravel where I have to download loads of dependencies that can be a nuisance to those with slow internet connections.
I am using the latest version of xampp which has PHP7+. Place the entire application on the Root of your project folder.
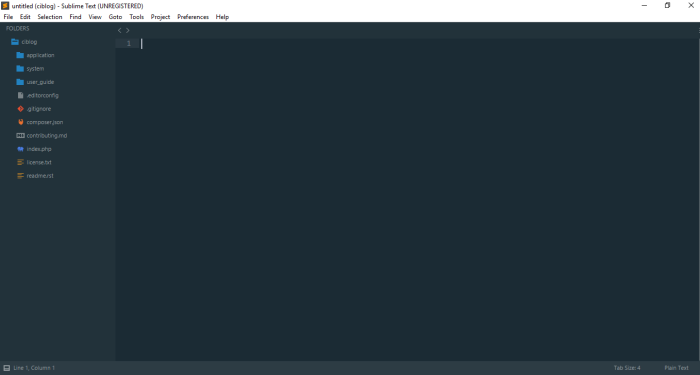
And I would just import the folder in Sublime Text 3.
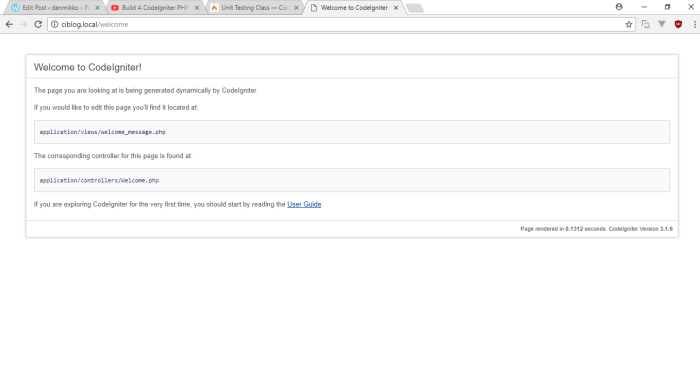
When navigating to my new CodeIgniter Page, this is what I get
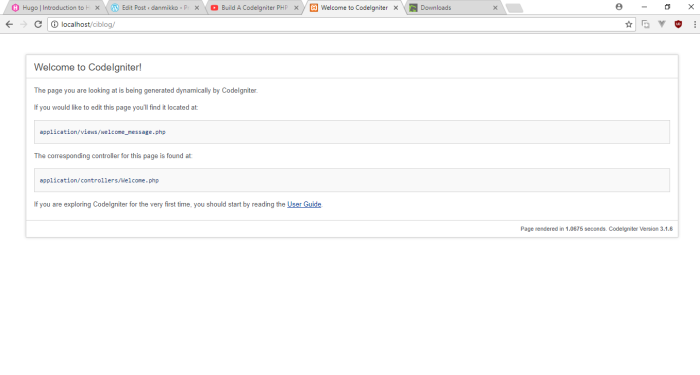
A very basic landing page. It works.
I noticed that the documentation is included in the zip file, thankfully I do not have to go to CodeIgniter’s documentation page. The folder that you would be working on is the application folder.
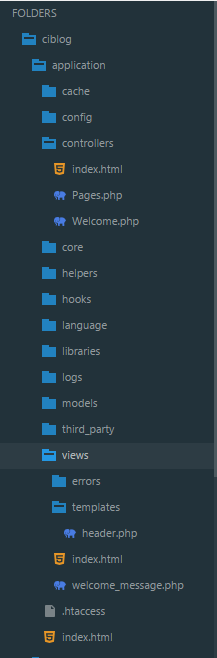
Look carefully at the structure.
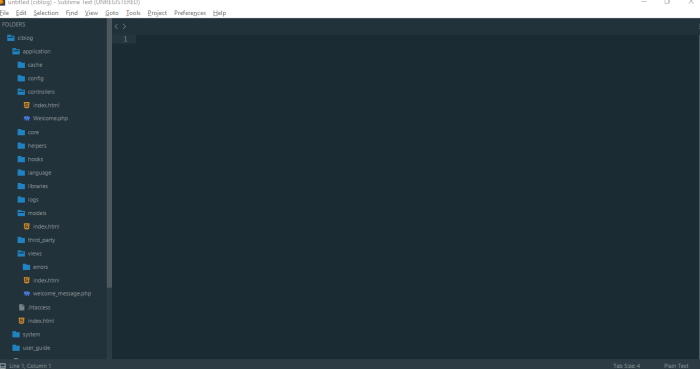
As you have observed, within the application folder that we would be working on. There is already the Controllers, Views and Models folder. This lightweight framework would be good for Microservices. Compared to Laravel where you have to navigate folders to get to the MVC folders.
At this point, I would recommend to initially configure your CodeIgniter Installation.
Navigate to application > config > config.php
It contains the configuration files of CodeIgniter, as you can see, it is well documented. For now, let’s change these settings.
First, let’s add the Base URL (Do I have to teach about virtual hosts? Fine, Hopefully you all use Windows, Refer to Google for linux DNS redirects) but before that, familiarize yourself with Virtual Hosts for preparation for Production use. (Production is where the system would be used by our clients, you don’t want your clients to go to http://localhost/your-system-here/ That would expose your server location)
How to make a vhost in windows
Go to xampp > apache > conf > extra > httpd-vhosts.conf
You would see a Window like this
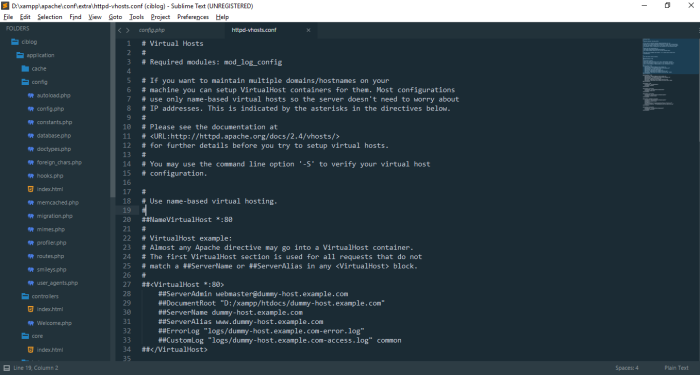
Navigate to the bottom of the page and Code This
<VirtualHost 0.0.0.0:80>
 DocumentRoot "D:/xampp/htdocs/ciblog"
 ServerName ciblog.local
</VirtualHost>
Obviously, you have to change the values that correspond to your setup.
USE COMMON SENSE, THIS SKILL IS NEEDED TO FULLY UTILIZE STACKOVERFLOW, DO NOT JUST MINDLESSLY COPY CODE WITHOUT UNDERSTANDING IT, THERE ARE TENDENCIES WHERE YOU JUST COPY CODE WITHOUT THINKING, YOU HAVE BEEN WARNED, PLEASE MAKE IT EASY FOR ME.
I have installed xampp in D:/ Normally you have installed xampp in C:/ Use that.
In the DocumentRoot, Put the full path of your CodeIgniter Project.
On the ServerName, you would put the url of your preferred CodeIgniter Project, I used the .local top-level domain because .dev does not work anymore with latest browsers due to some security checks, but you can have your custom subdomain, just do not use current ICANN TLDs like .ph .com .net .tk .xxx etc, since the browser will blacklist it due to some domain collisions to prevent some DNS Hijacking.
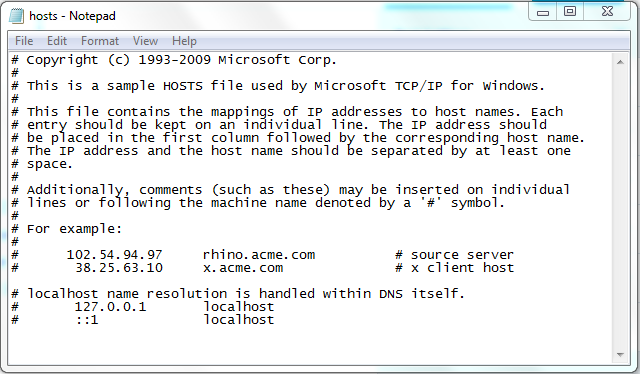
Then edit your hosts file
You can access your hosts file at C:\Windows\System32\drivers\etc\hosts
Important note: You need administrator access to edit the hosts files. Open your preferred text editor with admin privileges.
This is a sample hosts file
Add your preferred domain name to the hosts file
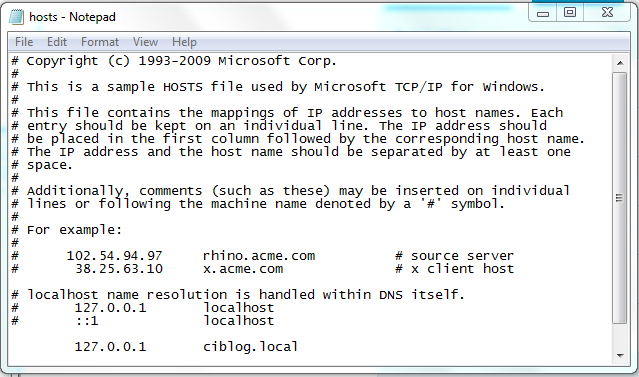
Save the file. Make sure you opened your text editor as Administrator, or else, it will not save. Congratulations, you have created your own virtual host. Finally, open your xampp control panel and restart/reboot your Apache server. (I am sure you know how to reboot the server, just stop the Apache server and start it again. It will require permissions, so look for the UAC alert if you did not open the xampp control panel as administrator. In Windows 10, look for the UAC logo on your taskbar)
Now that the hard work is over, lets configure the CodeIgniter. Where were we, yes, configuring the Base URL. It is the first thing we should do.
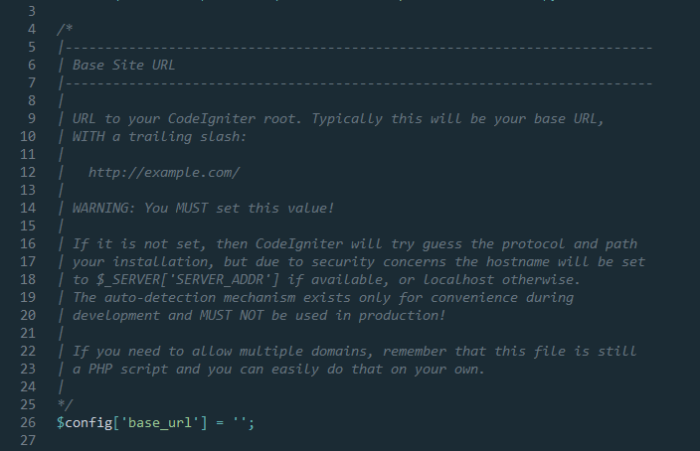
Place your domain on the base url, in my case
$config['base_url'] = 'http://ciblog.local';
Clear the Index File
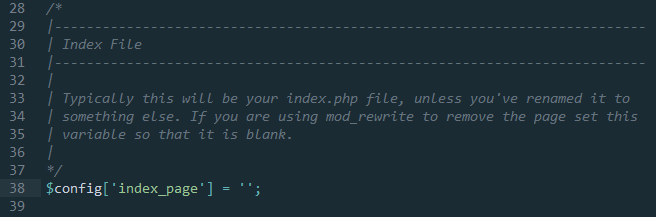
Save the config, lets try going to the welcome page.

It seems it cannot access the Page, That is because we have not yet configured the .htacess file, apache uses this to secure some folders of unauthorized user access and prevent viewing of system files.
Let’s create the .htaccess file on the root of our project.
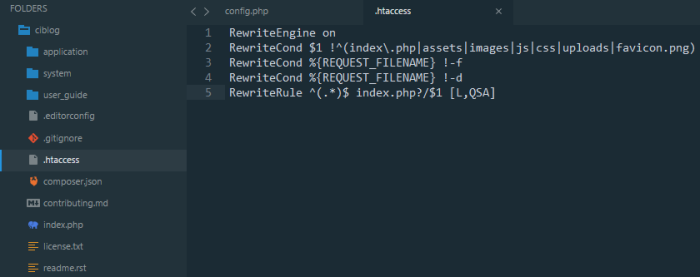
Save it, Refresh and we should get the welcome page.
Now you have installed CodeIgniter. To access the HTML page, we need the controller for that. The controller is the intermediary to the model and the view. For now, we need the view. Let’s create the Pages Controller to handle all our HTML pages.
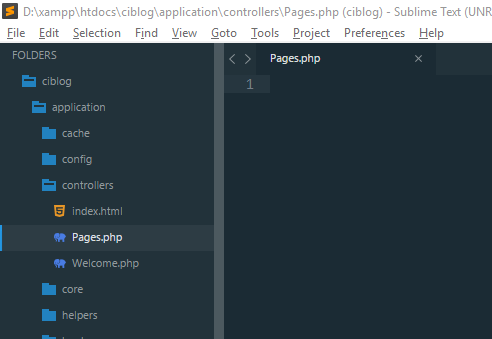
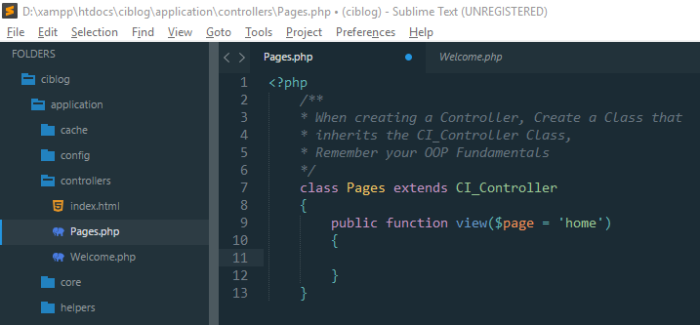
Create the new file in the controllers folder called Pages.php
The convention when naming controller files is that the word must be in the Plural Form and Capitalized.
Insert the following code
I will explain the code later, for now, let’s create the views. Go to the views folder and see the welcome_message.php
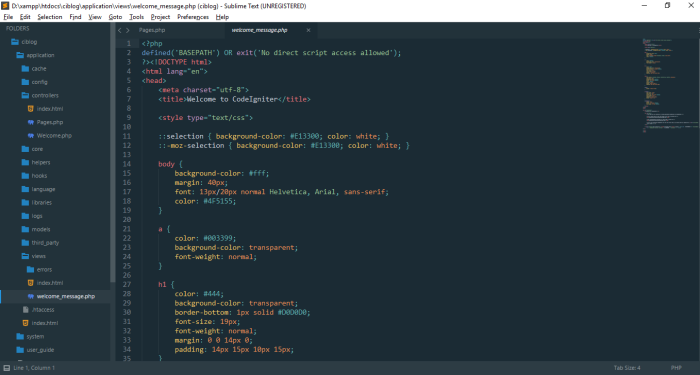
It is a typical HTML file, but with PHP code in it. Just like in some frameworks like Angular, Vue, Pug/Jade, Laravel Blade, etc, we can separate pieces of HTML files into templates. We only need to edit a single php file for a single template, and we can reuse HTML templates in our website. Let’s try it.
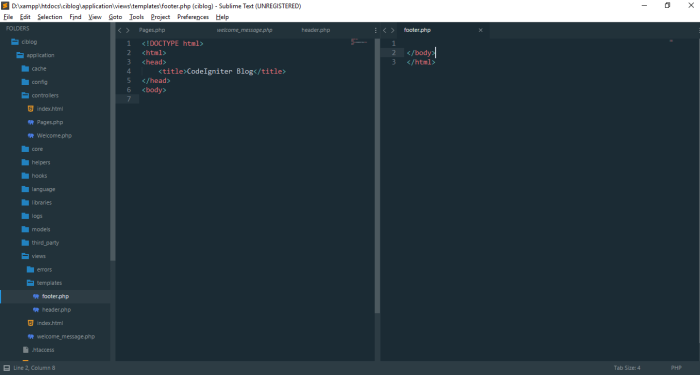
Create a folder in the views folder, and inside it, create the header.php that will contain our DOCTYPE and the head tag that will contain our stylesheets, metadata, etc. Create the footer.php for the things that you want to put in the footer part of the HTML
For now, put your HTML code in the Header and Footer.
After you have finished adding the templates, let’s go back to the controller. Add this code.
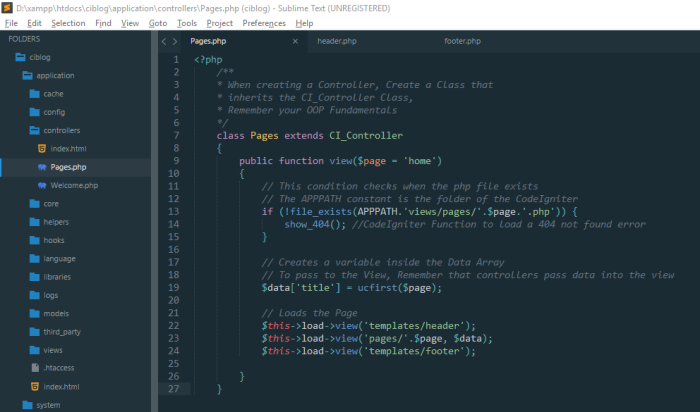
When you go to /pages/about you will see a 404 error, due to the page checking if file exists, this piece of code is responsible for it
if (!file_exists(APPPATH.'views/pages/'.$page.'.php')) {
     show_404(); //CodeIgniter Function to load a 404 not found error
}
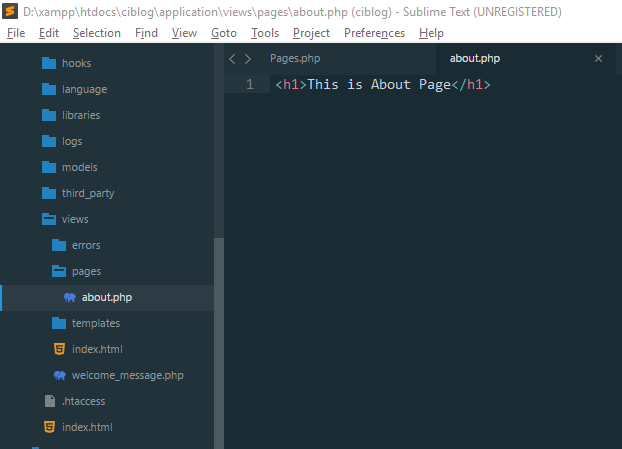
If you look at the code carefully. It checks on the pages folder in the view, it returns a 404 error since we have not made it yet. Let’s make it now. Create a pages folder inside the view and inside it, create about.php and let’s put in some HTML code.
Now go to /pages/view/about see that we have a valid HTML document

Excellent, Now let’s look at the source.
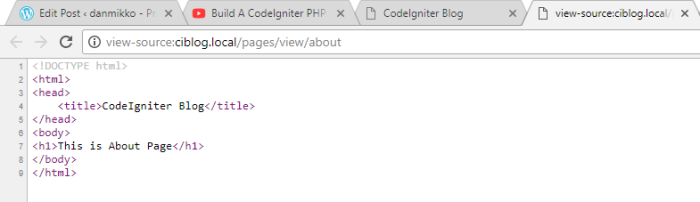
From our code, we included both the header and footer files in the template, this code is responsible for that
$this->load->view('templates/header');
$this->load->view('pages/'.$page, $data);
$this->load->view('templates/footer');
We can load the templates and reuse them, so that we do not have to write the entire HTML, only include HTML files that we need
It is not preferred that we go to /{ControllerName}/{FunctionName}/{ViewName} that can be problematic. Well, we have a solution for that. It’s called Routing
What is Routing? Routing allows us to re-map URI requests to specific controller functions. For example, we want the Pages Controller to map to the root of the website, not the /pages route which CodeIgniter puts by default. Compared to Laravel where you have to specify the specific route for every function in the controller, CodeIgniter makes it possible to automatically map the URI into the function inside the controller.
The routes can be found in the config folder. Navigate to config/routes.php
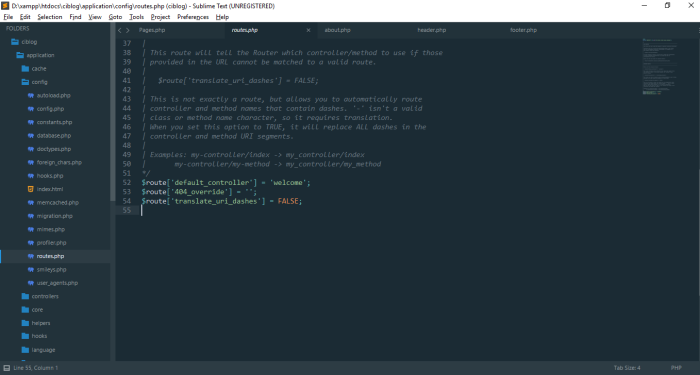
To re-map the route from the /posts to the root / add this route
//It looks in the Root
$route['(:any)'] = 'pages/view/$1';

//also set the default controller to pages/view
$route['default_controller'] = 'pages/view';
Save it, and go to /about you should get the About Page
By default, when there are no parameters provided, the home view is passed.
public function view($page = 'home')
Let’s create a home.php file in the views folder, inside the pages since the controller will look there.
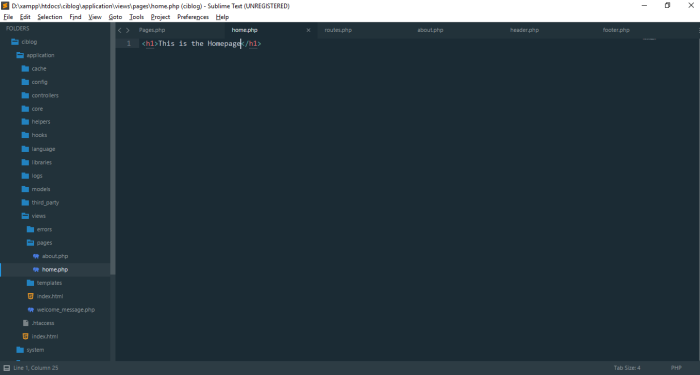
Now go to the root ( / )
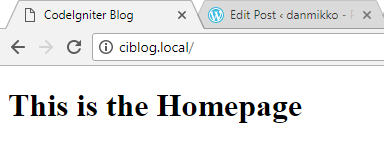
It works! Congratulations, you know basic routing.
Now let’s pass the data from the controller to the view. Normally, we would pass the data from the model to the view but for demonstration purposes, we can pass hardcoded data from the controller to the view.
In our code, we have passed some data to our view here
$data['title'] = ucfirst($page);
...
$this->load->view('pages/'.$page, $data);
We can pass the data in the view as an optional parameter of the view function.
To access the data that we have sent, we need to put a PHP code, let’s edit the about.php in the views folder.
Replace the text inside the tag with the data here
<h1><?= $title ?></h1>
Now access the about page, this indicates that we can pass the data to the view
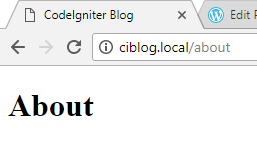
We have passed the ‘title’ from the data array to the page using PHP. It is the same principle with Laravel, although Laravel relies on helper functions. CodeIgniter recommends using native PHP to render the pages faster.
So to summarize CodeIgniter and Laravel does things differently
CodeIgniter Pros
- Lightweight compared to Laravel
- Easy Routing
- Very fast as it runs on Native PHP
Laravel Pros
- Variety of Helper Functions – Lots of syntactic sugar.
- Easier Scaffolding when using Artisan
- Template Engine support
To summarize, CodeIgniter requires PHP knowledge and is easy to install, it is very lightweight with basic features. Laravel requires lots of dependencies provided by Composer in which a single Laravel project would yield about a size of more than 100MB but is more abstract.


